

Hello readers,
Sorry for the delay, but I'm back! Due to the caliber of my mods now, I will be unable to output posts at the same rate as I have in the past. Such is the price to pay in the quest for excellence. Anyways, a few weeks ago I decided that I wasn't showing pistols enough love, so I decide to take one to the absolute max. This mod is my finest to date, and I went through a lot of trouble to get this thing functional. Here are some of its wonderful properties:
- 1 1/4'' polycarbonate plunger tube
- Delrin plunger rod
- 4 1/4'' K26 at full compression
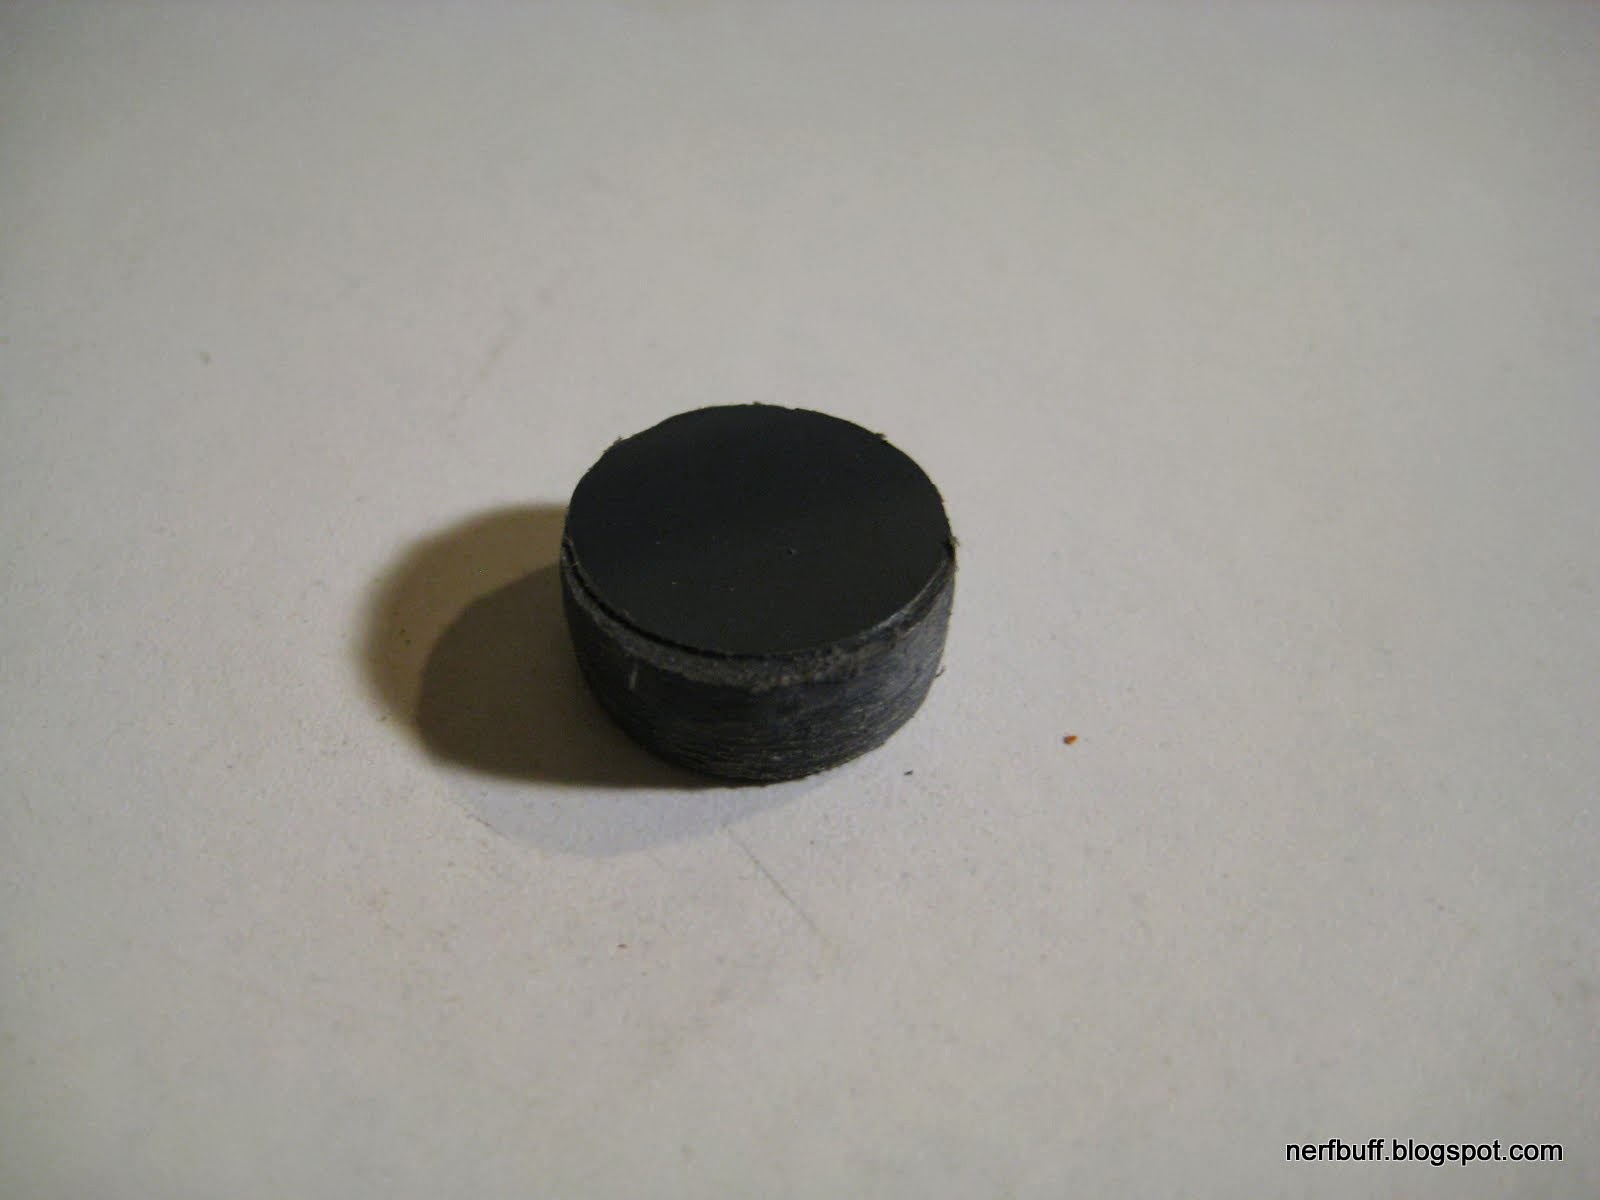
- 1 1/8'' rubber grommet seal
- Custom front spring spacer
- Custom rear spring blocker
- Custom trigger catch
Required materials:
- 1 1/4'' diameter polycarbonate tubing
- 1/2'' PVC coupler
- 1/4'' PVC sheet
- 3/8'' Delrin rod
- 1'' 6-32 pan-head screw
- #6 washer
- 3/4'' fender washer
- 1'' fender washer
- 1 1/8'' O.D. rubber grommet
- 1/4'' polycarbonate sheet
- 1/8'' polycarbonate sheet
- 3'' 6-32 threaded rod x2
- 3/4'' length, 3/8'' thickness 6-32 nylon spacers x2
- 6-32 nylon acorn nut x2
- PVC/ABS solvent
- 1/8'' natural gun foam
- 1/2'' I.D., 5/8'' O.D. polycarbonate tubing or CPVC
- 1/4'' 6-32 set screw
- 3/8'' 6-32set screw x3
- 1/2'' 6-32 set screw x2
- 6-32 Keps (K-lock) nut x4
- Replacement catch spring
- K26 mainspring
- Scroll saw
- Dremel
- Drill or drill press
- 6-32 tap
- 3/4'' hole saw
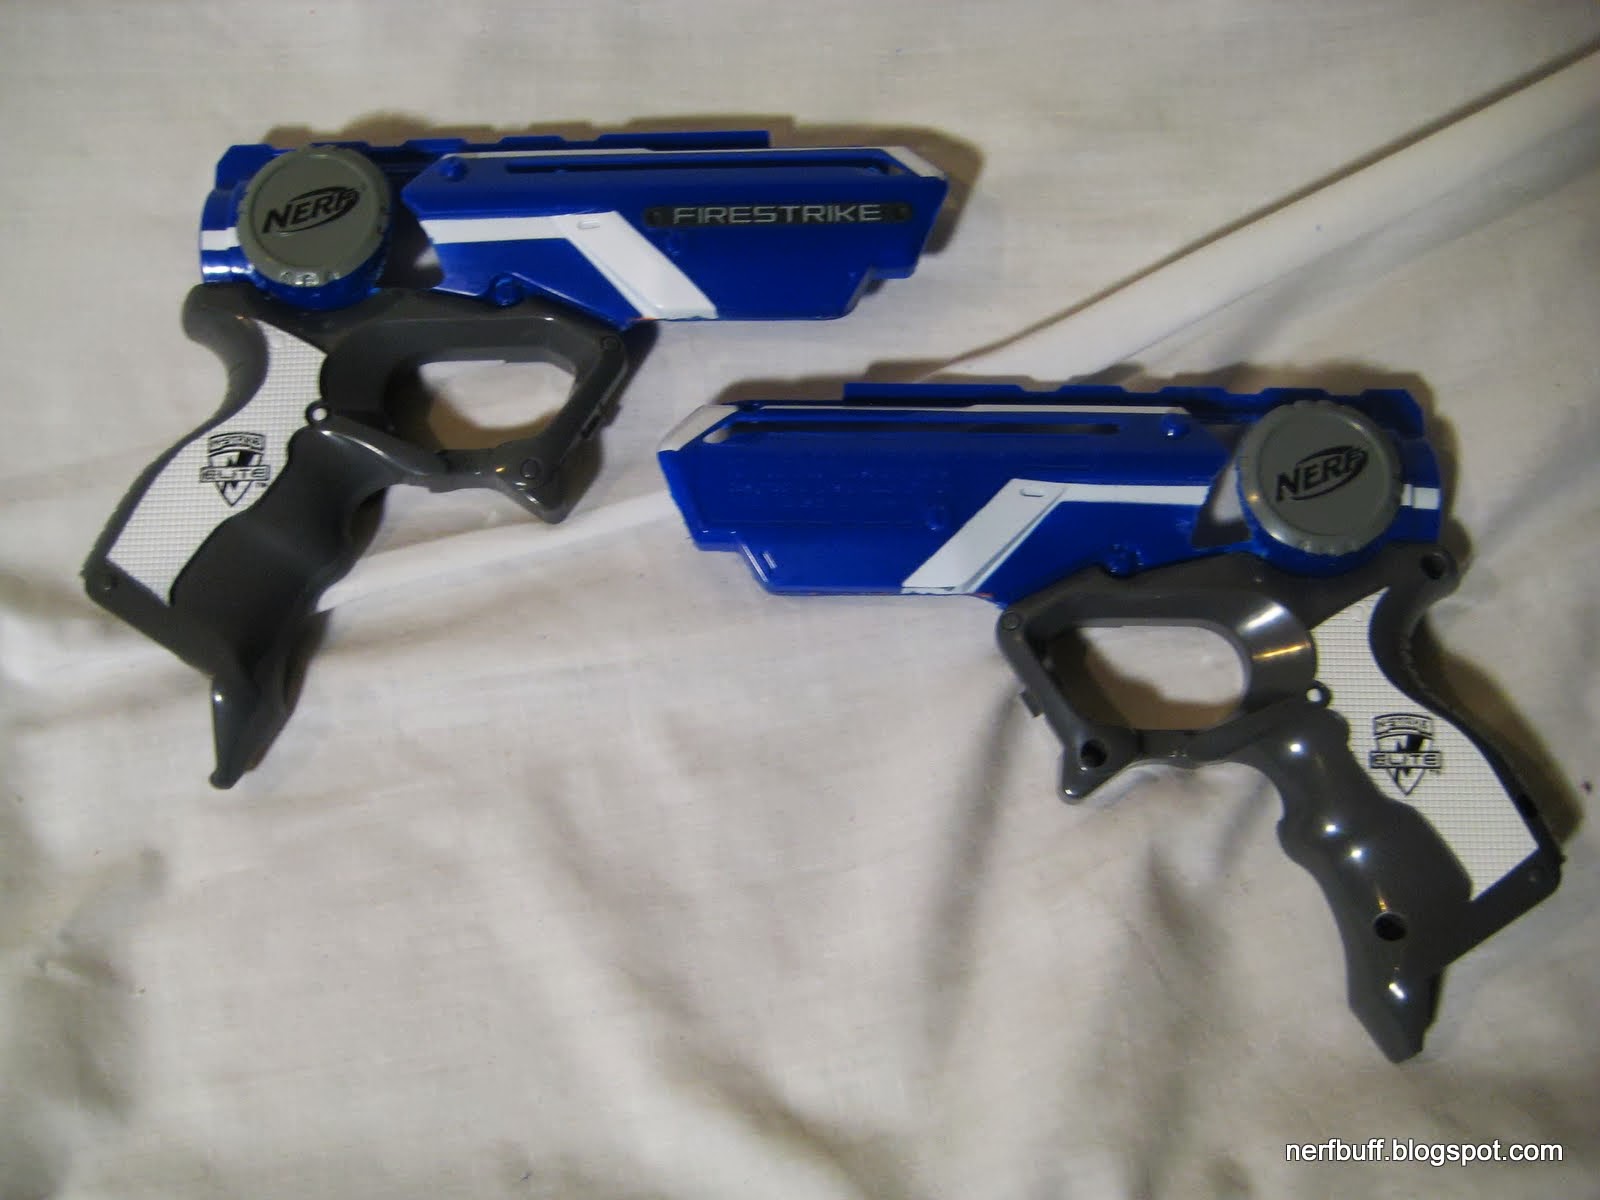
Start by gutting that bitch:

Undo the gray tabs holding the two halves together to separate the shell:

Now Dremel off the part the houses the light unit. Do it cleanly, as you will be reusing it!


Here are the pieces you will need from the light unit:


Snap the shell halves back together:
Now to cover the gaps in the shell--chop down the two striped pieces from the light unit like so:

Then use the PVC/ABS solvent to weld it to both halves of the shell. Notice how I lined up the stripes--yes I am OCD like that sometimes!

Trim down the other two pieces:

And attach:

At this point it would behoove you to cut the plunger tube. 6'' is the length I went with--just long enough to keep the pistol compact:

Now for one of the most time-consuming parts of the mod--Dremeling the shell down to the fit the plunger tube. Use the plunger tube to constantly test the fit. The part right in front of the round section with the Nerf logo gets Dremeled so thin that I just cleared it out to look like an hourglass on both sides. One tip I can provide is to look straight down the front of the shell and look for a perfect U-shape all the way back to the rear of the shell.
 |
| Before |
 |
| After |

At this point let's tackle the plunger tube. Cut down a 1/2'' PVC coupler and leave enough room for a 6-32 threaded rod to pass through:

Use the PVC/ABS solvent to permanently weld the coupler into the end of the plunger tube. As it turns out, the fit is perfect! Use a lot of solvent, as the seal must be airtight. When the solvent cures after a day, drill through the plunger tube with a 7/64'' drill bit and tap it with the 6-32 tap:


Insert the 6-32 threaded rod through the plunger tube. I used two hex nuts and tightened them together. Then I used a wrench on the rear nut and threaded it through:

Before the next step, you will need to drill some holes in the shell. The purpose of the holes is the support the force of the plunger rod, as you will see later. Here is where I drilled my holes--they are perfectly in line with the middle of the plunger tube:


You will now need to fabricate the rear plunger tube supports. They will be made from 1/4'' polycarbonate and follow this schematic:

Here they are!

Now take plunger tube and put it into place and close the shell. Make a mark on both sides through the rear hole on both side to designate a spot of importance. Then take your polycarbonate pieces and solvent weld them into place:

When the solvent cures, put the plunger tube back in the shell and close it up. Make two marks just like before--through the back holes. Drill and tap through the marks you made with the 7/64'' drill bit and 6-32 tap:

I forgot to take a picture of it, but you should insert a 1/2'' set screw into each of the holes you just made. Make sure that they don't protrude into the plunger tube or the spring will get snagged! The final step for the plunger is to cut yourself some plunger padding and insert it down behind the 1/2'' PVC coupler:

Next up is the plunger rod. Take your 3/4'' hole saw and cut a circle out of your 1/4'' PVC sheet. This will serve as a spacer that sits inside the rubber grommet:
Drill a 9/64'' hole right through the middle:

Now we can build the plunger head. Here is my setup--from left to right: 1'' 6-32 pan-head screw, #6 washer, 3/4'' fender washer, rubber grommet + PVC disc, 1'' fender washer (wrong in picture).


Now grab your 3/8'' Delrin and cut a 6'' length of it. Mark the end for drilling:

Drill and tap the business end:

Cut your catch notch 4 1/4'' from the back of the plunger rod:

Drill a 9/64'' hold through the end of the plunger rod for the priming handle:

Use your threaded rod, 3/4'' nylon spacers, and acorn nuts to build the priming handle:

The final step for the plunger rod is to make the front spring spacer. Its purpose is to prevent the front of the spring from hooking onto the plunger head and wrecking the seal. My solution is simple and elegant--what I always strive for! Lightly sand down the corners of the plunger rod in front of the catch notch:

Take your 1/2'' ID, 5/8'' OD polycarbonate (or CPVC) and cut out a 3/4'' segment. Drill and tap through the rear of the segment and the corresponding spot on the plunger rod:

Here you can see it in action, secured with a 1/4'' set screw:

Now is when this mod gets extremely hairy. How hairy? I'm talking Bigfoot and Chewbacca having a kid and that kid fucking Osama bin Laden. Yeah, prepare for some pain. The K26 will wreak havoc on the rear section of the blaster of there isn't something blocking it. I decided to design my own rear spring stop out of 1/8'' polycarbonate--check it out!

This piece does not need to be glued into place and slides onto the plunger rod right in front of the trigger catch. Here is my fabrication process:


You will need to round the edges--look closely at the shell to see how the piece needs to be shaped. To make the square hole, I used a thin drill bit for my Dremel. Here you can see how the spring stop snaps into place:

The trigger catch will also need to be fabricated, since the stock catch is too tall to work with an aftermarket plunger rod. Here are the schematics for this one:

Like the spring stop, I first scrolled out the outline then later drilled a 3/8'' hole and expanded it with the Dremel:

Drill and tap the top center of the catch and insert a 3/8'' set screw:

Comparison with stock catch:

Whew! Now that that thing is done, all that is left is to mod the trigger. Cut a 5/16'' x 3/8'' piece of 1/4'' PVC and glue it to the trigger like so:

You may need to Dremel the trigger and/or the bottom of the catch to get the blaster to catch and fire, so test test test! Once you're satisfied with the fit, it's finally time to assemble the full plunger rod! Slide on the catch, spring stop, spring spacer, 4 1/4'' K26 spring, and plunger head:

Time to put everything back into place, including the old LED! Yes, I found a spot above the old light housing that the LED can chill in to illuminate the plunger tube.
 |
| Whoops--forgot the secondary trigger! |
Close up the shell and screw on your 4 Keps nuts to secure the plunger tube to the shell. Make sure they aren't on too tight. Isn't she a thing of beauty?
Here a shot of the illumination:

Full compression of the K26 spring after priming:

Final thoughts:
It took a long time, but the end result was worth the pain. This little pistol is now truly "Elite" in every sense of the word--I may just have to make it its own personal slide breech. It shoots extremely hard--harder than some of my rifles, in fact! Have a look:

This was accomplished with my new 6'' slide breech and shitty beige Hot Rod darts--something I'm very perplexed about. To be honest, I find this velocity to be a little low--the reason I say this is because I don't think the rubber grommet is an optimal plunger head in any respect. It seals very well, but requires an ass-ton of lube and creates a lot of friction with the plunger tube walls. In addition, it falls victim to vacuum loading problems and takes up quite a bit of real estate. In the future, I will no longer use this type of plunger head and I may even swap mine out for a tradition washer sandwich, which is superior in every way.
In any case, I'm very happy with the outcome of this mod, and my segue into homemades continues. This is the first time I've ever worked with Delrin, and I can safely say that I'm never going back to Nylon. Stay tuned for more goodies :)
Hope you guys enjoyed this write-up!
~T
P.S. Fuck Nylon.
Nicely done!
ReplyDeleteThanks! A lot of work for a little blaster.
DeleteWhy don't you post these on the forums? They are very well put together.
ReplyDeletePerhaps I will. I only like posting my original stuff on the forums, and I guess this would qualify.
DeleteI did this mod a good while back, but one thing that makes this mod many times easier is to get a nylon fender washer at ACE that fits in the plunger tube nicely, drill a 3/8 inch hole in it then cut corners so is fits the delrin rod.
ReplyDeleteIf that thing can take a K26, then that is a great idea!
ReplyDeleteIt is still holding up after two wars, but it has large dents so I might use polycarb instead. I would love to use a metal washer, but small pieces of metal are a bitch to drill and cut.
DeleteNoted. A single disc of polycarb with a square hole would probably be the easiest solution in this case.
Delete