
Sup guys,
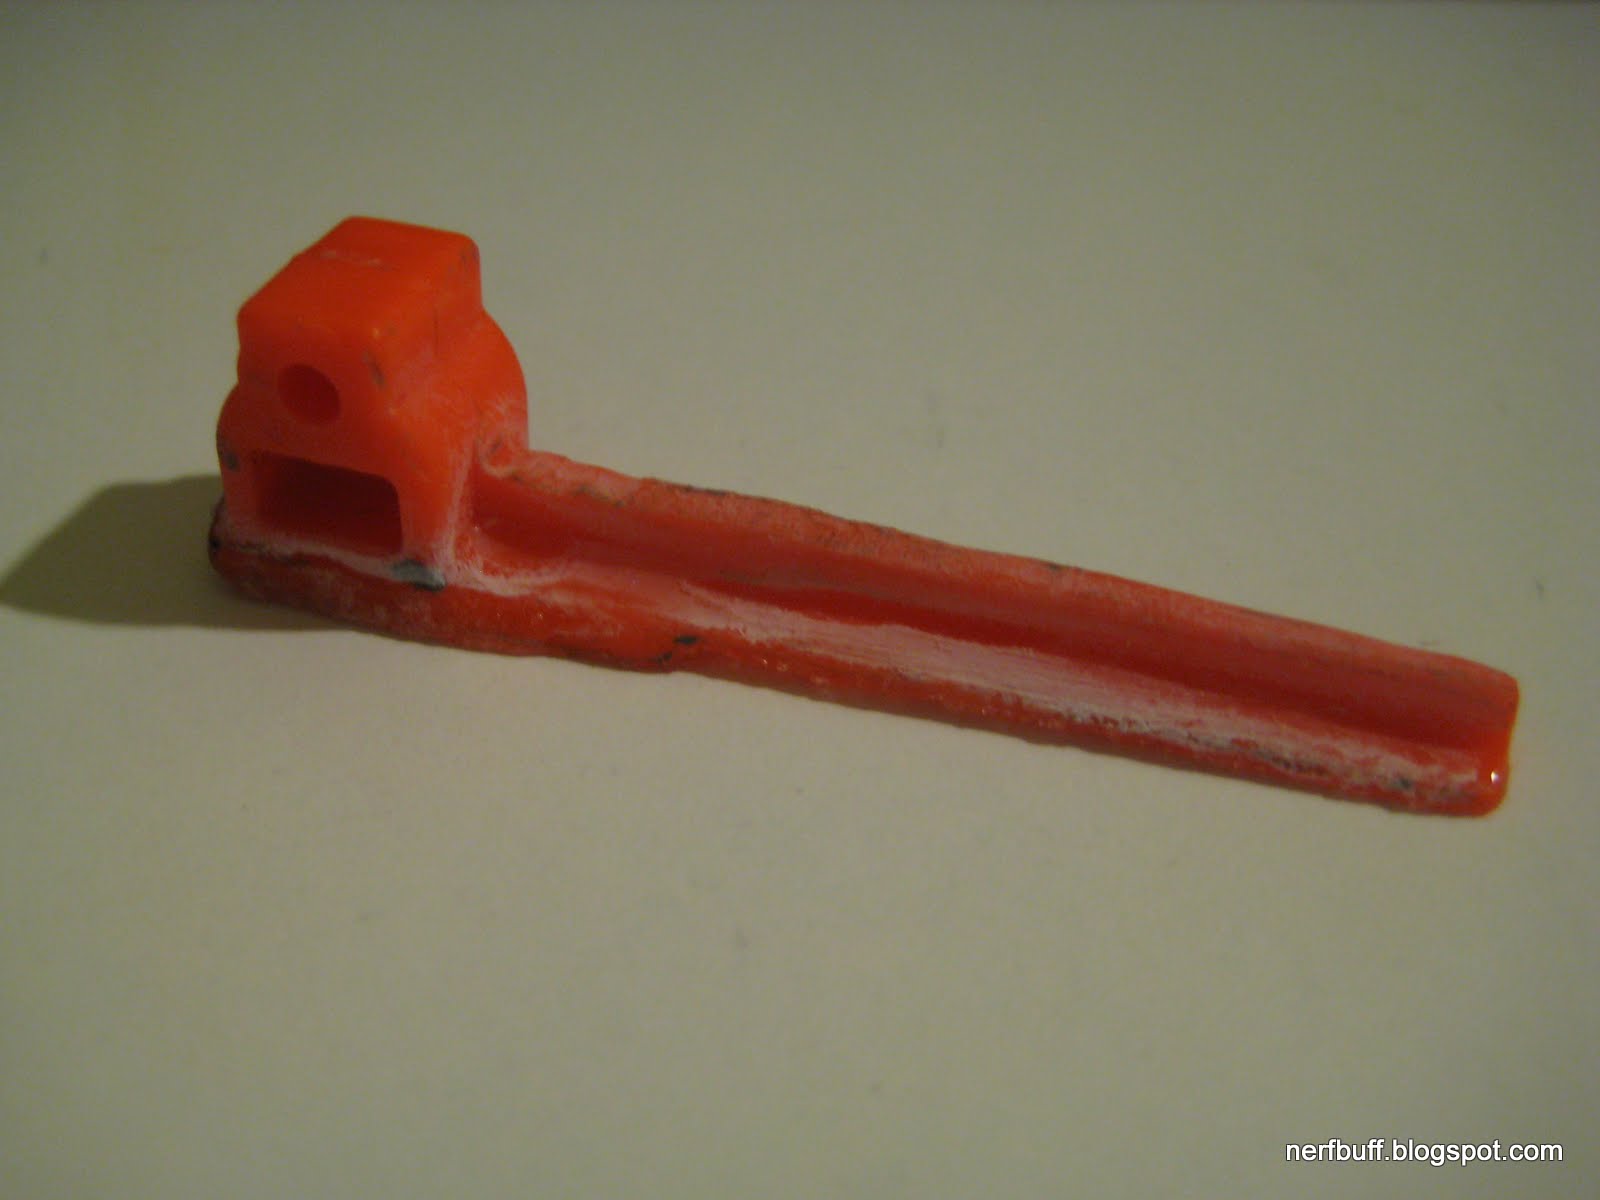
This little orange piece has been the bane of my existence since I first decided to make an Angel Breech for my Longshot. For those of you that don't know, this little orange guy is the attachment point between the bolt sled and breech--the #1 point of failure. Pretty much every brass breech mod that I've read calls for gluing this piece to your brass breech. I have tried many types of epoxy, including the one from the original breech created by ForsakenAngel24, but none of them have had enough strength to withstand my K26 spring. In typical T da B fashion, I set out to solve this annoyance once and for all. This time, it involves fire!
This mod was actually influenced by the RC car modding community. They use K&S brass tubing to make their own homemade front bumpers, Nerf bars (hehe), etc. I did my research on soldering, brazing, and welding in addition to watching Youtube clips of people joining metals to prepare for this mod. Here is what you guys will be needing to make a bond that can withstand the K26:

Top left: Butane torch that can produce a flame reaching 2500 degrees Fahrenheit! This will be the heat source used to prepare the metals for joining. I went with the Blazer Stingray GB4001 and I'm very pleased with it.
Top center: Stay-Brite Silver Solder--will be used to fill in the spaces between the two metals to be joined. It is composed of a few metals, and the silver allows the joint to be stronger than the actual metals themselves!
Top right: Stay-Clean Liquid Flux--really poisonous stuff. However, it is extremely necessary for soldering since it cleans the surfaces of all oxides and causes the solder to stick.
Bottom: 3/8'' x 3/8'' x 12'' copper rod
You will also need a Dremel with a cylindrical grinding bit, a drill press, and cutting oil for this job.
Write-up:
Cut a 19/32'' length piece off of your square copper rod and grind down one end of it with a cylindrical grinding bit on the Dremel.

Bust out the drill press and drill a 1/8'' hole 1/8'' from the flat side of the piece. Use cutting oil to prevent the copper from heating up too much and lube the drill bit. You should also grind down the top of the nub at this point to fit the bolt sled, but I forgot and did it later.

Now build yourself some sort of jig to hold everything in place. I also ended up wrapping a rag soaked in water around the end with the plunger tube to prevent melting. Ideally you would do this before gluing on the bottom of the old breech. Make some marks to designate where you want the nub to go and then rough up both surfaces and clean them with rubbing alcohol. Apply flux to the bottom of the copper nub and carefully put it into place. If you ground it down properly, it won't fall off. Now hit it with the flame from all sides for a minute, then touch the solder to the base of the nub and solder should flow into place due to "capillary action."

Finished product--not the prettiest but it gets the job done! Clean up any solder with the Dremel.

Here are some glamor shots with the new nub in place:


So there you have it! The greatest problem with the Angel Breech has finally been solved. The fact is, metal is just too slippery to be held with epoxy, even after roughing the bejeezus out of it. After soldering things into place, my breech will never be breaking in that spot ever again. Pretty legit, eh?
I hope you guys enjoyed another one of my original write-ups!
~T da B
Niiiiiiiiiiiiiiiiiiiiiiiiiiiiiiice.
ReplyDeletePost.
ReplyDeleteThis.
On.
NerfHaven.
THIS IS SWEET!