
After finally getting around to thoroughly testing this prototype, I'm very excited to present you all with some dope new technology that you may not have seen before! The idea is not mine, but I'm "porting" it over from our sister sport--Airsoft! Before we dive in, let's quickly go over the advantages and disadvantages of regular old O-ring plunger heads:
Advantages:
- Incredibly cheap
- Take up very little real estate
- Easy to maintain
- Long-term reliability
- Low friction
- Sealed breeches don't allow air into the plunger (vacuum loading)
- More machining required
- Tight tolerances to get a working plunger head

Writeup:
For this write-up, I'm building a plunger head for 1 1/2'' OD polycarbonate tubing out of 1/2'' HDPE (cutting board). Start by cutting out a disc of HDPE with a diameter about equal to the ID of your tubing. Mark the center and draw 3 lines through the middle (or more if you want more than 6 ports). Try to keep the lines equidistant from each other.

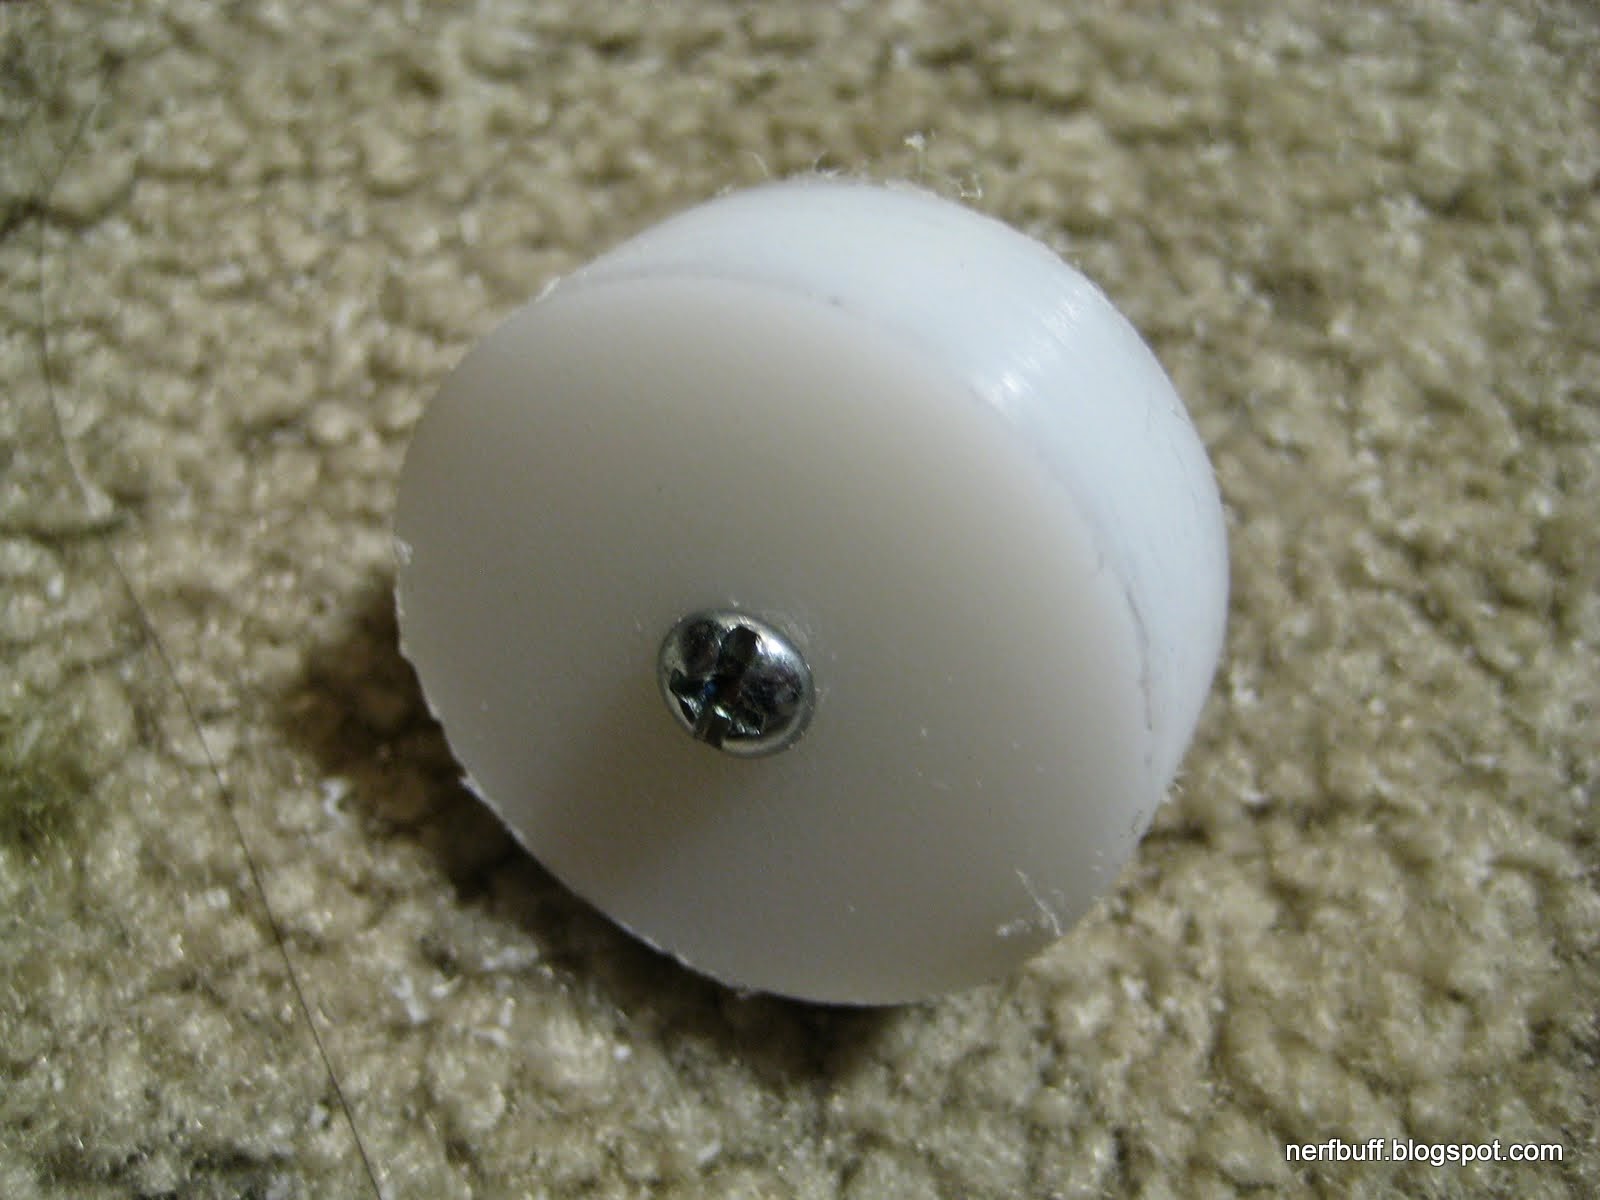
Drill a 1/8'' hole through the center and tighten on a 1 1/2'' 6-32 bolt. Chuck in it in the drill press (if you don't have the luxury of a lathe) and file/Dremel it down until it slides into your tubing nicely:
Now use a rough file and a small square one to get a nice hamburger shape. Make sure the track is wide enough to allow the O-ring to slide up and down a little. Test the fit in your tubing constantly!

Now mark the holes on top--mine were 1/4'' from the edge. Mark the holes around the perimeter that will meet up with the ports on top--they should be lined up with the O-ring when it is slid downwards all the way:

Now drill the holes in the top to a depth of around 11/32'' with a 1/16'' drill bit:

Now drill the holes along the perimeter to meet the previous ones. I centered the disc as best as I could in my small vise and used my drill press. I literally looked in through the upper hole until I saw the drill bit appear at the end of the small tunnel.

To see if your ports are functioning properly, blow through the hole on top of the disc. Clear out any swarf with a paper clip--it is imperative that the passages be clear of debris!


Here you can see what the plunger head looks like when you prime the blaster--the O-ring slides upwards, exposing the ports, then fresh air can flow from behind the plunger up through the ports and into the plunger tube for the next shot. The O-ring is a 1 5/16'' OD O-ring from Ace.

And when you fire, the O-ring slides backwards, covering the ports. As an added bonus, air rushing in through the top ports pushes the O-ring outwards, improving the seal! It is this feature that makes this design superb to the Nite Finder's primitive porting.

Slapped on a plunger rod:

And into my Ported Piston Plusbow (PPP):

Final Thoughts:
After hundreds of shots worth of testing with various barrels, I'm getting the same performance out of my PPP as my skirt seal RainbowPump (~260fps)! Even with sealed breeches and rapid firing, there is no drop in velocity. Though this plunger head design required a lot of effort, the result is well worth it.
I hope you guys found this as awesome and intriguing as I did. No go forth and make yourselves a PP!
~T
No comments:
Post a Comment