
Though many of you may think I have died, I have actually been alive and kicking! Not only that, but I managed to finally finish the project that I've been stalling on for so long:
The Bullpup v2.1!
The reason it's version 2.1 is that I made some slight modifications to Drev's original design. They include the following:
- Extension spring for better trigger feel
- Extended shoulder stock
- Simpler way to attach handle
- HDPE handle instead of wood
- Adjustable barrel spacer
- Set screws
- Clear everything!
It took me a few tries to get the blaster from working spotty to working reliably, mainly with the prime. I had to extend the trigger tip a bit, throw a stronger catch spring in, and glue the shit out of the piece of tubing that sits in the catch. Anyways, let's get down to a good old-fashioned write-up, eh?
Start out by chopping the 1 1/4/'' PVC to length and marking an end four times at equal spacing. I used my old quartering jig for the job:

To draw the lines I propped the PVC against a solid backstop, laid a Sharpie on its side with the tip aligned with a mark from above, and lightly dragged it across a flat table:

Prepping the bushing--the paper clip was probably not necessary, but maybe a dart could get sucked around the bend and into the plunger tube?

I used good old PVC cement to attach the bushing, but there were initially some leaks! I caught them by plugging the bushing and blowing through the other side. The problem was easily remedied with some more PVC cement dabbed into the cracks with a Q-tip:

Next is to prepare the templates for cutting. My trigger nub ended up not being quite long enough so I had to give it some ExtenZe later:

As you can see I forewent the front piece for supporting the trigger:

Sanded for dem ergonomics!

Trying to concave the top of the handle was a stupid idea, especially considering it was perfectly flat and square to begin with:

The finished handle/trigger assembly:

For the trigger I used a 1 1/2'' screw, a 6-32 nylon washer, two 1/4'' 6-32 nylon spacers, and a 6-32 nylon locknut:

My first omni-directional plunger rod! The notch seems to love snagging K26s before they fully prime.....
For the plunger head I went with a typical skirt plunger head with 3 1/4'' polycarbonate discs--this is the first time I've use an external lock washer and I don't know why I haven't always done it. The Plusbow write-up was actually the first place I have ever even seen them used, but it makes a lot of sense!

This is where I took a very long hiatus to embark on a car-related modding journey. For all that care, I swapped my catalytic converter for a test pipe (freeing up a giant exhaust bottleneck) and got a tune--VTEC got lowered from 6000rpm to 3590rpm! What this mean is mucho torque in the midrange (3000-6000rpm) where there was none before, mainly due to the more aggressive camshaft kicking in earlier. In addition, my fuel economy has actually increased due to a more consistent air/fuel ratio across all rpms and all manifold air pressures while cruising. The car in question is the following: a 2007 S2000 (AP2) with 2.2L engine:

I also swapped my tires for one size wider on the front and back! I'm now running 225/45/17 front and 255/40/17 rear with sticky Dunlop Direzza Z2 tires. Suffice it to say, the grip is phenomenal! The strength of the car lies is how ridiculously fast it can handle corners and is NOT for people who live their life a quarter mile at a time. The car puts out 237 horsepower out of the factory and weighs 2864 pounds. Now you guys know why I go AWOL for long stretches of time. Perhaps I'll post some backwoods driving footage if I ever get a Gopro!

Anyways, back to our original mechanical engineering topic! Here are the completed handle and plunger rod:

Now for the bitch--the fabricating of the rainbow catch. It took me a couple tries, as my first attempt had the screw holes too far apart. The magic number for the hole spacing was 13/16''.

Due to the fact that I didn't countersink my holes on top of the handle, I had to cut this trench. Luckily, it didn't have to be pretty:


Drill and tap the holes for securing the rainbow catch. 3/8'' set screws works perfectly:

Now drill the holes for the handle--I went with 5/32'' for the handle holes and whatever for the screwdriver holes. Test the trigger hole so it lets the trigger swing high enough:

Time to measure the slots--use the same technique as before the backstop and level surface after drilling the 11/64'' holes:

Many a Dremel mark, but the slots are remarkably straight! I suppose that's the consequence of MUI--Modding Under the Influence...


Glue the U-turn with PVC cement--I actually twisted the two 90-degree elbows into position perfectly then just applied the cement around the rim to keep things centered and not have to worry about aligning shit within a five-second window:

I should have also just glued around the rim for the shoulder stock--it ended up rather heavy with all that thick PVC:

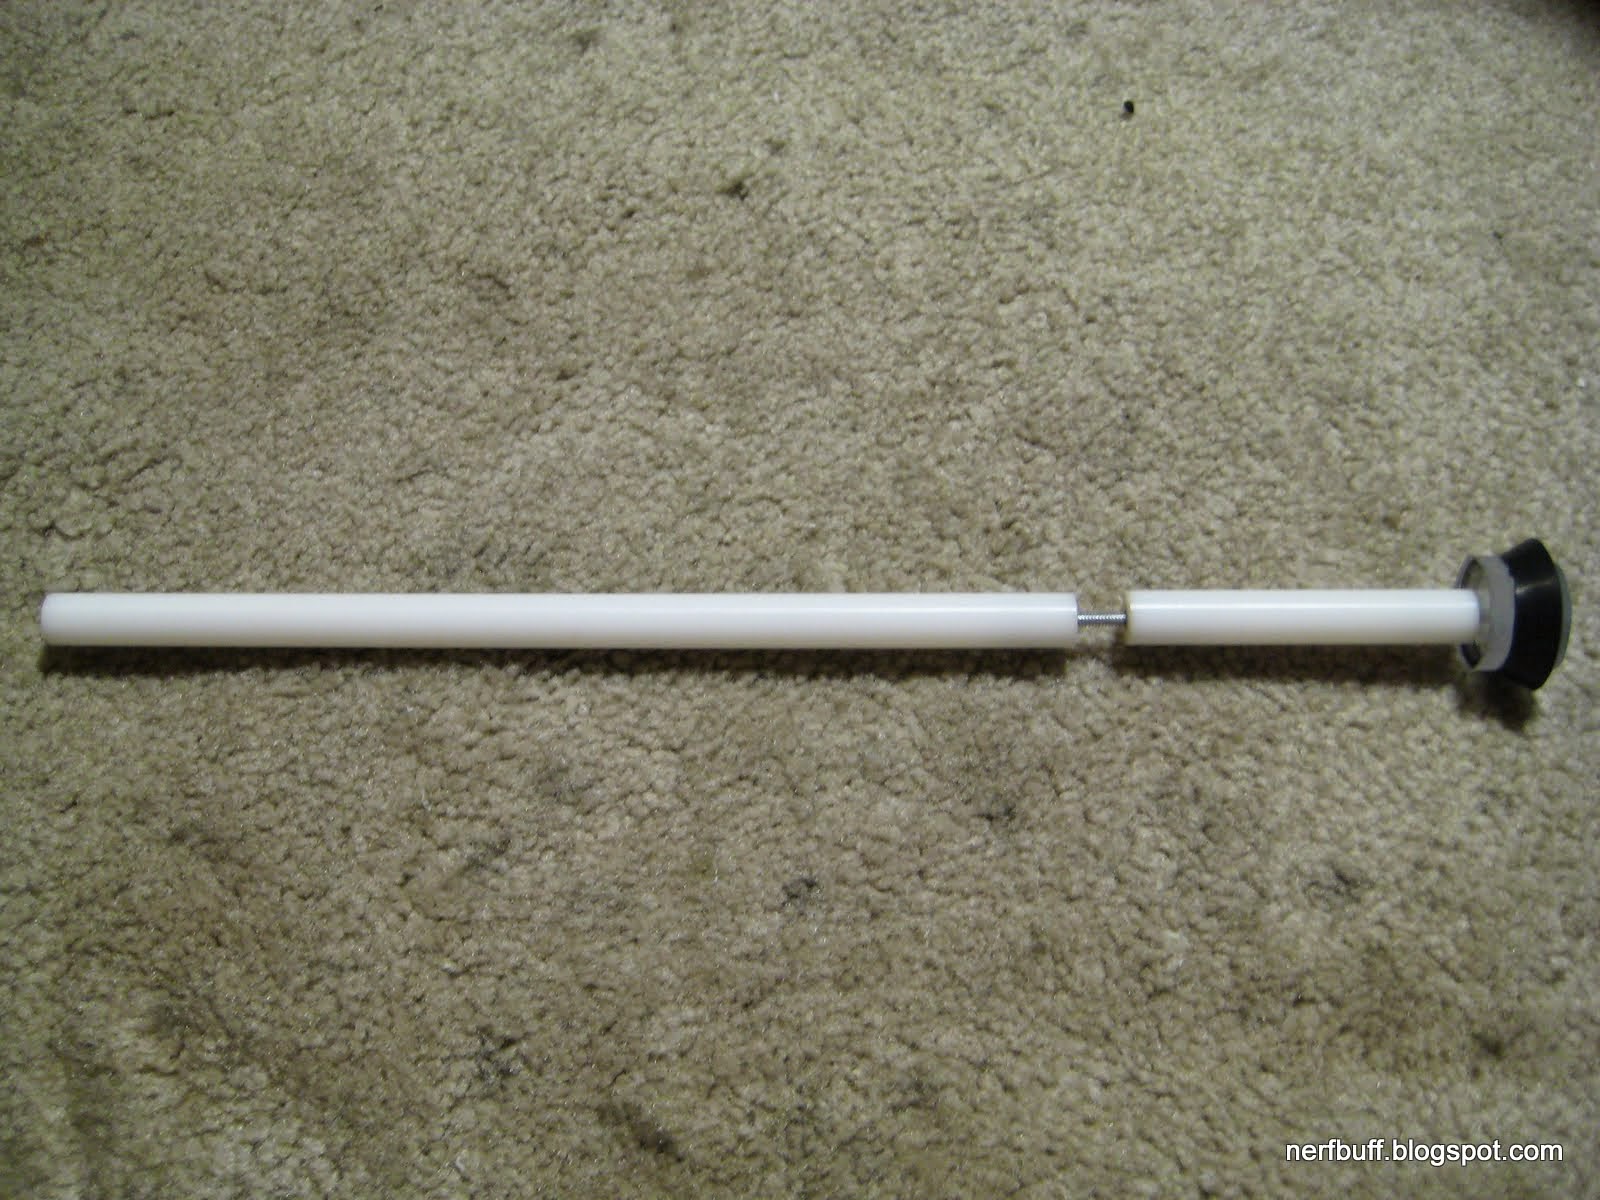
Here's my sweet little polycarbonate adjustable barrel spacer!

Classy as anything:

Everything but the power plant in place:

Plunger padding, that I eventually removed later because it got shredded and half of it got shot out the barrel:

Here's how I modified the trigger to accept a 2'' extension spring--just drilled and tapped it for a 1/4'' screw:

The absolutely essential spring liner-upper in place:

All the pieces (minus a barrel) in place:

Pump grip:

Mid-section; you can see the extension spring in place:

Dat ass:

With 14'' barrel a 9-dart hopper:

It shoots darts insanely hard with this hopper:


And that's a wrap!

Conclusion:
Though this project took over a month to complete, I feel like it's the most amazing thing I've ever made. It took me a while to visualize the internal workings, especially having never experienced the Multiple Orgasm or any of its variants, but this completely clear version should make it painfully obvious to the viewer.
Hope you guys enjoyed this write-up for an awesome blaster,
~T
Awesome. Simply awesome. I've been waiting for this for a long time. I love all of the improvements that you made, they just make the blaster so much better. I'm glad that someone made my design! Awesome writeup. Because of the slot cut in the 1" PVC, you could easily make this slam fire. MIG put this picture on my writeup: http://s1366.photobucket.com/user/Drev453/media/ScreenShot2014-06-04at111446AM_zpsf25cceec.png.html If you want, you could change out your trigger, make the trigger hole a bit bigger, and have yourself slamfire. I made a new bullpup design with slamfire and it is pretty awesome. Thanks for following my writeup and making this thing. I love bullpups.
ReplyDeleteAlso, what type of barrel material are you using? It looks very interesting.
DeleteThanks for the feedback! The blaster is awesome both aesthetically and functionally--kudos for the great design. Slamfire would make this thing even more of a beast, and seems like a very easy conversion as well. The barrel material I'm using is actually just schedule 80 clear PVC from Mcmaster with an unusually perfect fit around my Stefans.
Deleteis there any way you would be willing to sell a Bullpup V2.1? with slam fire added in as well?
ReplyDelete